Building Clarissa started as a learning exercise. I wanted to understand how AI agents actually work. I’d used Claude, ChatGPT, and various coding assistants plenty, but I couldn’t have told you what really happens between the prompt and the tool call, and that bothered me. What I found was simpler than I expected in some places and a lot fussier in others.
What follows is what building a terminal AI assistant from scratch taught me: the patterns that emerged, and the parts that turned out harder than they looked.
Why Build a Terminal AI Agent?
Existing AI interfaces felt disconnected from my actual workflow. I spend most of my day in the terminal, and switching to a browser or GUI to ask an AI for help created friction. More importantly, I wanted to understand:
- How do AI agents decide when to use tools versus just respond?
- How do you manage context windows that can hold millions of tokens?
- What makes tool execution safe and reliable?
- How does the Model Context Protocol actually work?
The best way to learn was to build.
The ReAct Pattern: Reasoning + Acting
The core of Clarissa is the ReAct (Reasoning + Acting) pattern. This isn’t some complex neural architecture; it’s a surprisingly simple loop:
async run(userMessage: string): Promise<string> {
  this.messages.push({ role: "user", content: userMessage });

  for (let i = 0; i < maxIterations; i++) {
    // Get LLM response
    const response = await llmClient.chatStreamComplete(
      this.messages,
      toolRegistry.getDefinitions()
    );

    this.messages.push(response);

    // Check for tool calls
    if (response.tool_calls?.length) {
      for (const toolCall of response.tool_calls) {
        const result = await toolRegistry.execute(
          toolCall.function.name,
          toolCall.function.arguments
        );
        this.messages.push({
          role: "tool",
          tool_call_id: toolCall.id,
          content: result.content
        });
      }
      continue; // Loop back for next response
    }

    // No tool calls = final answer
    return response.content;
  }
}
The LLM doesn’t “decide” to use tools in some mysterious way. You send it available tool definitions, and it responds with either a message or a request to call specific tools. You execute those tools, feed the results back, and repeat until it responds without tool calls.
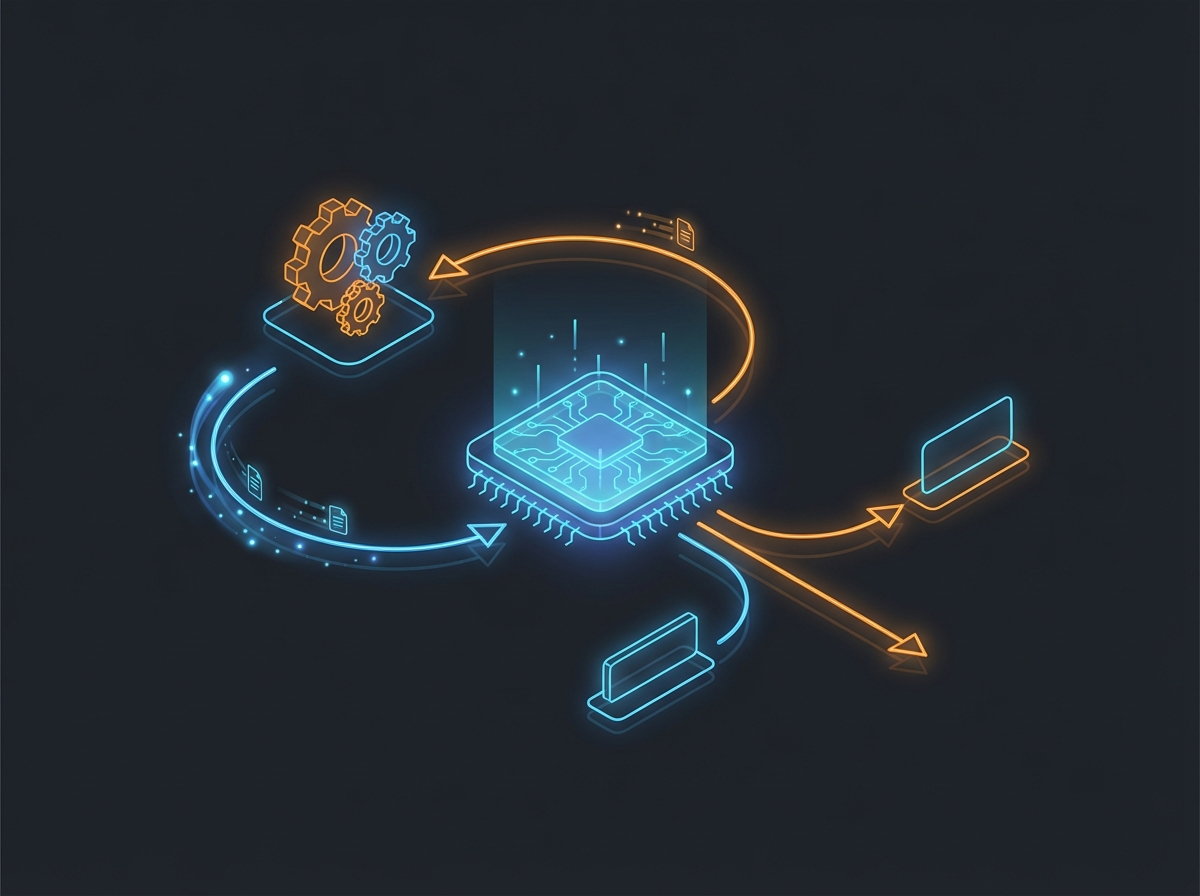
This loop is the entire agent. Everything else is infrastructure around it.
What I Learned About Tool Design
The most interesting challenge was designing tools that are both useful and safe. Early versions had tools that were too granular (read a single line) or too broad (execute arbitrary code). Finding the right level took a few passes.
Tool Confirmation
Potentially dangerous operations need confirmation. But what’s “dangerous”? I settled on this heuristic:
- No confirmation: Reading files, listing directories, viewing git status
- Confirmation required: Writing files, executing shell commands, making commits
interface Tool {
  name: string;
  description: string;

### The Tool Registry Pattern

Rather than hardcoding tools, I built a registry that tools register themselves into:

```typescript
class ToolRegistry {
  private tools: Map<string, Tool> = new Map();

  register(tool: Tool): void {
    this.tools.set(tool.name, tool);
  }

  getDefinitions(): ToolDefinition[] {
    return Array.from(this.tools.values()).map(toolToDefinition);
  }

  async execute(name: string, args: string): Promise<ToolResult> {
    const tool = this.tools.get(name);
    const parsedArgs = JSON.parse(args);
    const validatedArgs = tool.parameters.parse(parsedArgs);
    return await tool.execute(validatedArgs);
  }
}
This pattern made MCP integration trivial. When connecting to an MCP server, I just convert its tools to my format and register them:
const tools = mcpTools.map((mcpTool) => ({
  name: `mcp_${serverName}_${mcpTool.name}`,
  description: mcpTool.description,
  parameters: jsonSchemaToZod(mcpTool.inputSchema),
  execute: async (input) => client.callTool({ name: mcpTool.name, arguments: input }),
  requiresConfirmation: true  // MCP tools are external
}));

toolRegistry.registerMany(tools);
Context Management: The Underrated Challenge
Context windows are measured in tokens, but managing them well requires more than counting. Here’s what I learned:
Token Estimation
You can’t send requests to the API just to count tokens. You need local estimation:
estimateTokens(text: string): number {
  // Rough approximation: ~4 chars per token for English
  return Math.ceil(text.length / 4);
}

estimateMessageTokens(message: Message): number {
  let tokens = 0;
  if (message.content) tokens += this.estimateTokens(message.content);
  if (message.tool_calls) {
    for (const tc of message.tool_calls) {
      tokens += this.estimateTokens(tc.function.name);
      tokens += this.estimateTokens(tc.function.arguments);
    }
  }
  return tokens + 4;  // Role overhead
}
Smart Truncation
When approaching the limit, you can’t just drop the oldest messages. Tool calls and their results must stay together, or the LLM gets confused:
truncateToFit(messages: Message[]): Message[] {
  // Group messages into atomic units
  // User message -> Assistant response -> Tool results
  const messageGroups: Message[][] = [];

  // Keep system prompt, add groups from newest to oldest
  // until we hit the limit
  for (const group of reversedGroups) {
    const groupTokens = group.reduce((sum, msg) =>
      sum + this.estimateMessageTokens(msg), 0);
    if (totalTokens + groupTokens <= availableTokens) {
      toAdd.unshift(...group);
      totalTokens += groupTokens;
    }
  }
}
This was one of those bugs that took hours to track down. The LLM would suddenly start hallucinating tool results because it could see a tool call but not the corresponding result.
Building with Ink: React for the Terminal
Choosing Ink (React for CLIs) was initially just curiosity, but it proved invaluable. Terminal UIs have the same state management challenges as web UIs:
function App() {
  const [messages, setMessages] = useState<DisplayMessage[]>([]);
  const [isThinking, setIsThinking] = useState(false);
  const [streamContent, setStreamContent] = useState('');

  const handleSubmit = async (input: string) => {
    setIsThinking(true);
    await agent.run(input, {
      onStreamChunk: (chunk) => setStreamContent(prev => prev + chunk),
      onToolCall: (name) => setMessages(prev => [...prev, { type: 'tool', name }])
    });
    setIsThinking(false);
  };

  return (
    <Box flexDirection="column">
      {messages.map(msg => <Message key={msg.id} {...msg} />)}
      {isThinking && <ThinkingIndicator />}
      {streamContent && <StreamingResponse content={streamContent} />}
      <Input onSubmit={handleSubmit} />
    </Box>
  );
}
The streaming response visualization was particularly satisfying. Tokens appear as they arrive, giving users immediate feedback that something is happening.
The Memory System: Persistent Context
Sessions persist conversation history, but users also wanted to tell the agent facts it should always remember:
class MemoryManager {
  async add(content: string): Promise<Memory> {
    const memory = {
      id: this.generateId(),
      content: content.trim(),
      createdAt: new Date().toISOString(),
    };
    this.memories.push(memory);
    await this.save();
    return memory;
  }

  async getForPrompt(): Promise<string | null> {
    if (this.memories.length === 0) return null;
    const lines = this.memories.map((m) => `- ${m.content}`);
    return `## Remembered Context\n${lines.join("\n")}`;
  }
}
Memories get injected into the system prompt. Simple, but it transforms the experience. Tell Clarissa once that you prefer TypeScript over JavaScript, and it remembers across every session.
MCP Integration: Extending Without Modifying
The Model Context Protocol was the final piece. Rather than building every possible tool, Clarissa can connect to external MCP servers:
/mcp npx -y @modelcontextprotocol/server-filesystem /path/to/directoryThe integration was straightforward once the tool registry pattern was in place. The challenge was converting JSON Schema (what MCP uses) to Zod (what I use internally):
function jsonSchemaToZod(schema: unknown): z.ZodType {
  const s = schema as Record<string, unknown>;

  if (s.type === "object" && s.properties) {
    const shape: Record<string, z.ZodType> = {};
    for (const [key, propSchema] of Object.entries(s.properties)) {
      shape[key] = jsonSchemaToZod(propSchema);
    }
    return z.object(shape);
  }

  if (s.type === "string") return z.string();
  if (s.type === "number") return z.number();
  if (s.type === "boolean") return z.boolean();
  if (s.type === "array") return z.array(jsonSchemaToZod(s.items));

  return z.unknown();
}
Key Learnings
Building Clarissa taught me several things that weren’t obvious from using AI tools:
Agents are loops, not magic. The ReAct pattern itself is almost trivial. The complexity lives in the infrastructure around it: streaming, context management, tool safety.
Tool design is UX design. The tools you provide shape what the agent can do. Too few and it’s limited. Too many and it gets confused. The sweet spot requires iteration.
Context windows are precious. Even with million-token windows, you can exhaust them quickly. Smart truncation and memory systems extend useful context far beyond raw limits.
Streaming matters. Users hate staring at a blank screen. Showing tokens as they arrive transforms the experience from “is this broken?” to “I can see it thinking.”
Confirmation builds trust. Approving dangerous operations prevents mistakes, but it also changes how people interact with the agent. They’re more willing to ask for ambitious tasks.
Try It Yourself
Clarissa is open source and available on npm:
bun install -g clarissa
# or
npm install -g clarissa
Set your OpenRouter API key and you’re ready to go:
export OPENROUTER_API_KEY=your_key_here
clarissa
The source code is at github.com/cameronrye/clarissa, and the documentation at clarissa.run covers everything from basic usage to MCP integration.
Clarissa taught me more than most projects I’ve built. If you’re curious how AI agents work, build one. The gap between using these tools and understanding them is smaller than it looks.
Keep Reading
Companion projectClarissa
An AI-powered terminal assistant that executes tools, built with Bun and Ink, featuring streaming responses, MCP integration, and session persistence.
View this project →Making My Portfolio Agent-Readable: From Files to an Interface Agents Can Act On
I stopped publishing files for agents to discover and built an interface they can act on: markdown mirrors, an A2A agent card, and verifiable skills.
AT Protocol MCP Server: Bridging AI and Bluesky's Decentralized Social Network
My MCP server for the AT Protocol: zero-config public reads of Bluesky data, authenticated writes when you need them.
ActivityPub MCP Server: Bridging AI and the Fediverse
How I taught Claude to explore the Fediverse: an MCP server that discovers actors, fetches timelines, and queries Mastodon-compatible instances.
Subscribe
Was this helpful?
Discuss
Ask can help explain concepts, provide context, or point you to related content.